Deploy to Vercel
The following instructions assume you have read the General Deployment Setup section above.
Vercel tl;dr Deploy
If you simply want to experience the Vercel deployment process without a database and/or adding custom code, you can do the following:
- create a new redwood project:
yarn create redwood-app ./vercel-deploy - after your "vercel-deploy" project installation is complete, init git, commit, and add it as a new repo to GitHub, BitBucket, or GitLab
- run the command
yarn rw setup deploy verceland commit and push changes - use the Vercel Quick Start to deploy
If you choose this quick deploy experience, the following steps do not apply.
Redwood Project Setup
If you already have a Redwood project, proceed to the next step.
Otherwise, we recommend experiencing the full Redwood DX via the Redwood Tutorial. Simply return to these instructions when you reach the "Deployment" section.
Redwood Deploy Configuration
Complete the following two steps. Then save, commit, and push your changes.
Step 1. Serverless Functions Path
Run the following CLI Command:
yarn rw setup deploy vercel
This updates your redwood.toml file, setting apiUrl = "/api":
Step 2. Database Settings
Follow the steps in the Prisma and Database section above. (Skip this step if your project does not require a database.)
If you're using Vercel Postgres, you may want to limit certain Prisma operations when you deploy. For example, if you're on the Hobby plan, there are some storage and write limits that you can mitigate by turning the Prisma and data migration steps off during deploy and only enabling them on a case-by-case basis when needed:
yarn rw deploy vercel --prisma=false --data-migrate=false
Vercel Initial Setup and Configuration
Either login to your Vercel account and select "Import Project" or use the Vercel quick start.
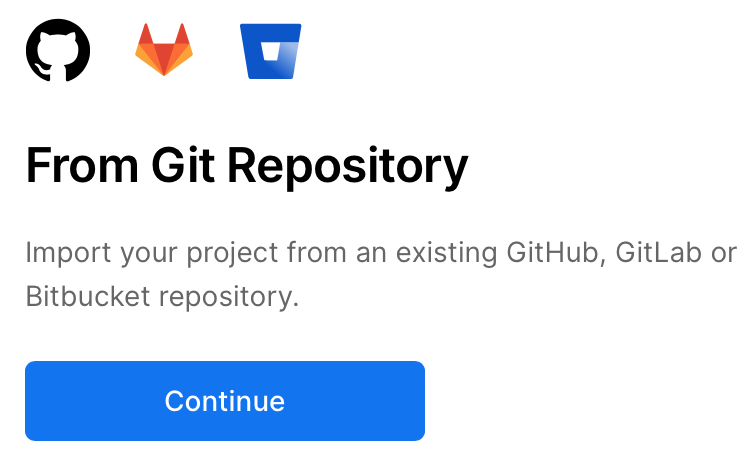
Then select the "Continue" button within the "From Git Repository" section:

Next, select the provider where your repo is hosted: GitHub, GitLab, or Bitbucket. You'll be asked to login and then provider the URL of the repository, e.g. for a GitHub repo https://github.com/your-account/your-project.git. Select "Continue".
You'll then need to provide permissions for Vercel to access the repo on your hosting provider.
Import and Deploy your Project
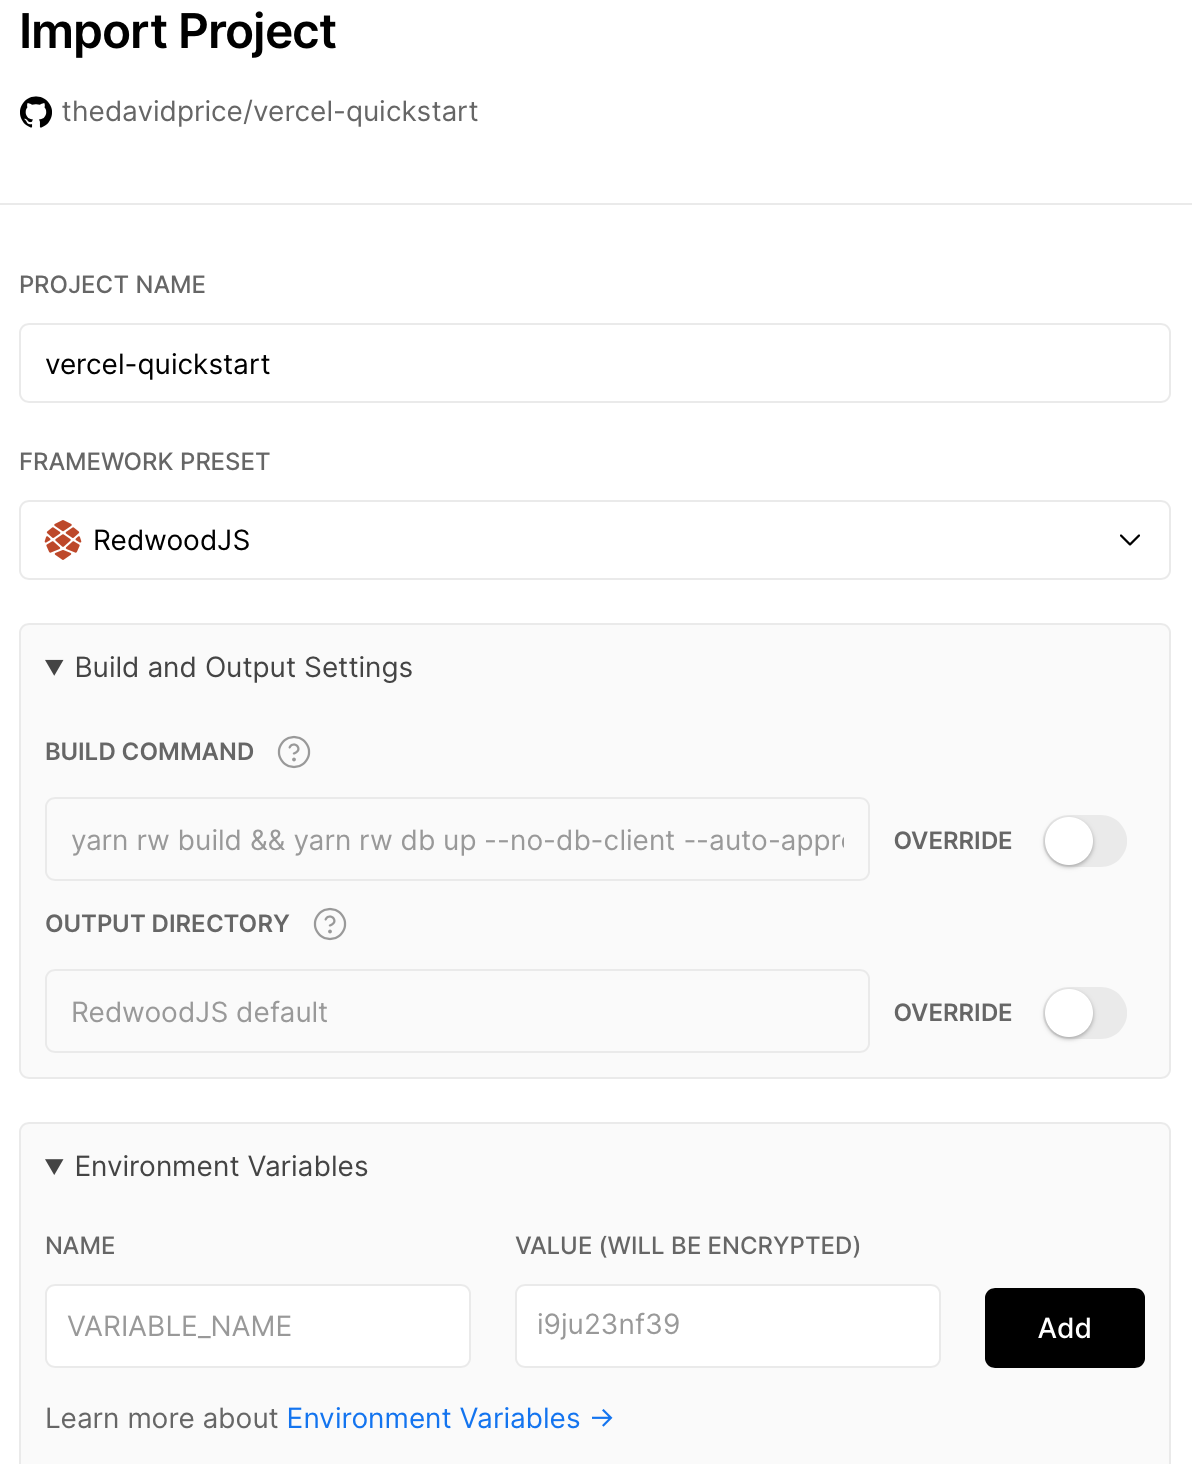
Vercel will recognize your repo as a Redwood project and take care of most configuration heavy lifting. You should see the following options and, most importantly, the "Framework Preset" showing RedwoodJS.

Leave the Build and Output Settings at the default settings (unless you know what you're doing and have very specific needs).
In the "Environment Variables" dropdown, add DATABASE_URL and your app's database connection string as the value. (Or skip if not applicable.)
When configuring a database, you'll want to append
?connection_limit=1to the URI. This is recommended by Prisma when working with relational databases in a Serverless context. For production apps, you should setup connection pooling.
For example, a postgres connection string should look like postgres://<user>:<pass>@<url>/<db>?connection_limit=1
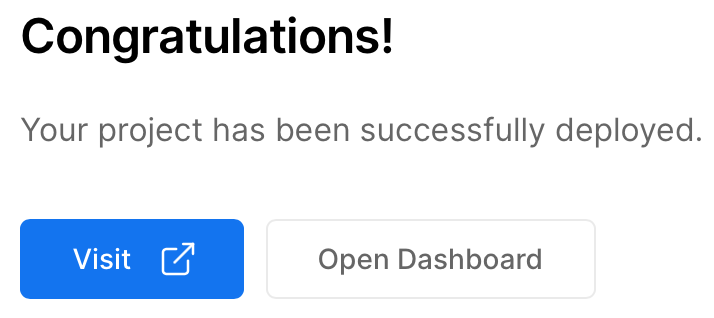
Finally, click the "Deploy" button. You'll hopefully see a build log without errors (warnings are fine) and end up on a screen that looks like this:

Go ahead, click that "Visit" button. You’ve earned it 🎉
Vercel Dashboard Settings
From the Vercel Dashboard you can access the full settings and information for your Redwood App. The default settings seem to work just fine for most Redwood projects. Do take a look around, but be sure check out the docs as well.
From now on, each time you push code to your git repo, Vercel will automatically trigger a deploy of the new code. You can also manually redeploy if you select "Deployments", then the specific deployment from the list, and finally the "Redeploy" option from the vertical dots menu next to "Visit".
vercel.json configuration
By default, API requests in Vercel have a timeout limit of 15 seconds. To extend this duration, you can modify the vercel.json file by inserting the code snippet provided below. Please be aware that the ability to increase the timeout limit is exclusive to Pro plan subscribers. Additionally, it is important to note that the timeout can be increased up to a maximum of 300 seconds, which is equivalent to 5 minutes.
{
  "functions": {
    "api/src/functions/graphql.*": {
      "maxDuration": 120,
      "runtime": "@vercel/redwood@2.0.5"
    }
  }
}